
2–3 Micron Risk for Car Owners: Paint Correction Stages Explained
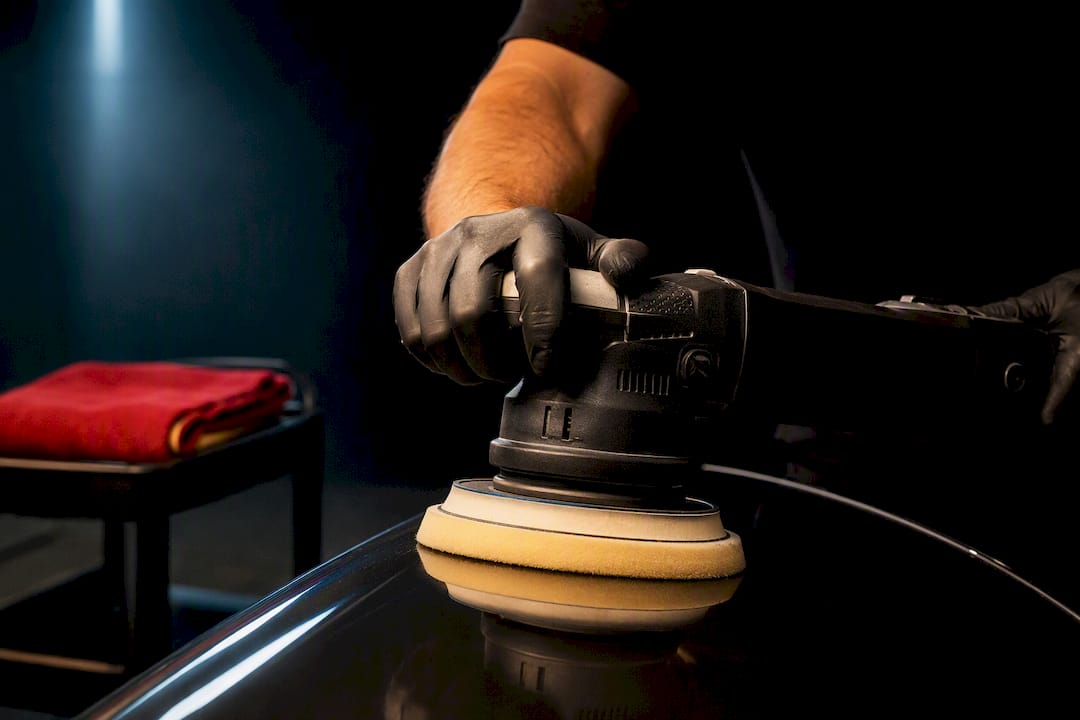
Paint correction stages are levels of abrasive work, from a single light polishing pass to a multi-step wet-sand and refine sequence. Stage 1 handles light swirls and haze, Stage 2 removes moderate scratching and oxidation, and Stage 3 tackles heavy defects like deep etching. The right stage depends on defect depth, paint hardness, and paint thickness gauge readings, not on how much you’re willing to pay.
TL;DR:
A stage in paint correction reflects the number of abrasive passes needed, with deeper defects requiring more stages to achieve optimal results.
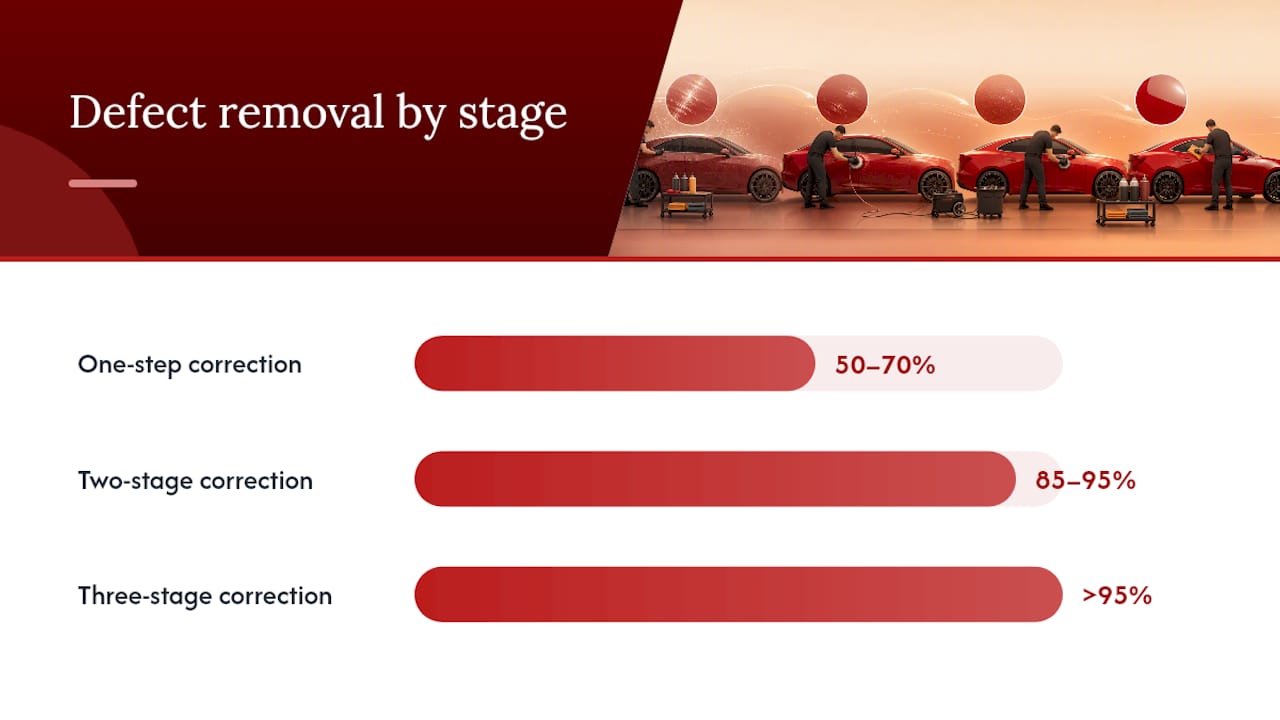
A one-step polish generally removes 50 to 70% of surface defects and suits cars with minor imperfections in good condition.
Most full defect removal is achieved through a two-stage correction, which typically corrects 85 to 95% of issues and doubles the time of a one-step process.
Stage 3 correction involves aggressive techniques like wet-sanding and should be used only for deep, bonded defects on thicker, undamaged paint layers.
Proper inspection, testing, and measuring paint thickness are essential to determine the necessary correction stage and avoid harming the vehicle’s paint.
Table of Contents
What “Stage” Actually Means in Paint Correction
A stage is one complete pass, or combination of pad, abrasive compound, and machine, aimed at a specific level of defect removal. One-step correction uses a single medium cut and refinement pass. Two-step correction runs a heavy cutting pass followed by a separate refining polish. Three-stage correction adds an extra heavy cut, often wet-sanding or an ultra-aggressive compound, before the refinement step brings back clarity and gloss, according to EuroLuxe Detailing.
Correction percentage tends to track with stage count. A one-step polish typically nets 50 to 70% defect removal, a two-stage job lands around 85 to 95%, and three-stage work can push past 95% on severe damage, per KM Auto Detailing.
Here’s what most owners miss: the number of stages needed has less to do with the machine and more to do with the abrasive itself. A high-quality pad and compound pairing can finish a job in fewer passes than a mediocre combination run twice, because poor abrasives leave behind micro-marring that then demands an extra corrective stage just to clean up their own mess, according to Autogeek’s discussion of abrasive technology.
Stage 1: Enhancement or One-Step Polish
Stage 1 exists for paint that’s already in decent shape. It’s built for cosmetic cleanup, not damage repair.
This stage typically corrects:
Light spider-web swirls from wash mitts or automatic car washes
Fine surface haze that dulls reflection without cutting deep
Minor oxidation on paint that hasn’t been neglected for years
Light water spot etching that hasn’t bonded into the clear coat
Tools and technique: A dual-action polisher paired with a medium-cut, all-in-one polish and a finishing pad is the standard setup. DA polishers reduce the risk of holograms compared to rotary tools, which is why they’re the safer default for most one-step jobs, according to APTuning’s technique guide.
Every job should start with a test spot on a two foot by two foot section. Spread the product across the area first, then run your section passes at moderate arm speed and light to medium pressure, checking progress under a bright inspection light between passes rather than guessing at the end, as Dr. Beasley’s polishing guide recommends.
On a mid-size sedan, a one-step polish generally runs 3 to 5 hours and removes a minimal, cosmetic amount of clear coat, well under the budgets a paint thickness gauge would flag as risky.
Pro Tip: *Underdo your first test spot on purpose.
Stage 2: Two-Step Correction for Full Defect Removal
Stage 2 is the workhorse of professional paint correction. It’s what most detailers mean when a customer says they want their car to look “brand new” again.
The process breaks into two distinct passes:
Cutting pass: A firm cutting pad and heavy-cut compound remove moderate to deep swirls, scratches that catch a fingernail, and bonded oxidation. Work in small sections, roughly two feet by two feet, and clean the pad frequently to keep spent abrasive from grinding into fresh scratches, a practice detailed in Adam’s Polishes’ correction flow chart.
Refining pass: Swap to a softer polishing pad and a finer polish to erase the micro-marring the cutting stage leaves behind and restore full gloss and clarity.
A properly executed two-stage job typically achieves 85 to 95% defect correction, which is why it’s the standard prep step before ceramic coating or paint protection film. Coatings amplify whatever is underneath them, so any marring left in the paint gets locked in and magnified once the coating cures.
Time budgets run 6 to 10 hours on a mid-size vehicle, roughly double a one-step job, since every panel gets worked twice. Material removal stays modest per pass, but two passes across the whole car means monitoring cumulative clear coat loss matters more here than it does in Stage 1.
Stage 3: Multi-Stage Correction and Its Real Risks
Stage 3 adds a third, more aggressive pass before the standard cut-and-refine sequence, and it’s the point where the conversation about safety limits gets serious.
A third stage typically involves wet-sanding with a fine grit, usually in the 2000 to 3000 range, or an ultra-heavy cutting compound on a wool or microfiber cutting pad. It’s reserved for defects that a standard two-step correction simply cannot reach:
Deep, bonded etching from bird droppings or tree sap left too long
Heavy swirling from years of improper automatic car washes
Factory orange-peel texture that owners want leveled for show-quality gloss
Scratches deep enough to catch light even after a standard cutting pass
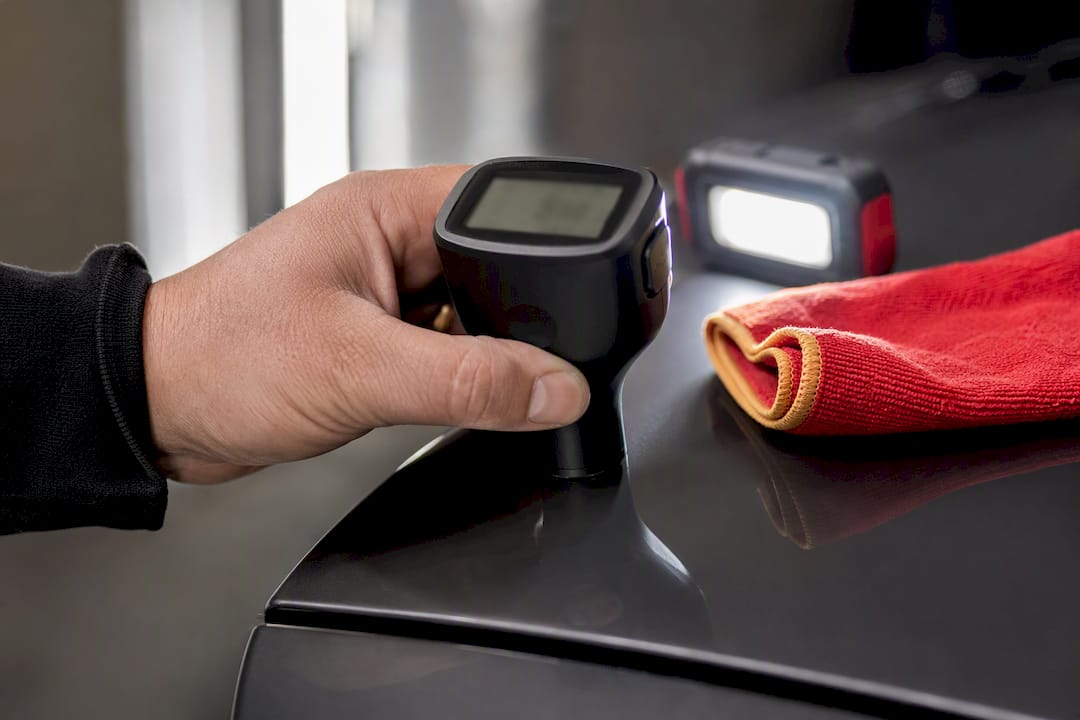
This is where the paint thickness gauge stops being optional. Clear coat on most vehicles runs 40 to 150 microns total, and multi-stage correction can remove several microns per pass across three separate steps. A conservative full correction generally stays under 2 to 3 microns of total removal, with extra caution on edges, high points, and any panel that’s been repainted, since factory clear coat and refinished clear coat rarely have the same thickness.
Pro Tip: Ask for the PTG readout before and after on at least one panel. If a shop can’t show you the numbers, they’re not measuring, and that means they’re guessing on how much of your clear coat is left.
Stage 3 adds significant time and labor cost, and increased risk due to clear coat removal. Skip it on paint that’s already thin from prior corrections, on vehicles with known factory clear coat issues, or when a defect can be fixed just as well with a safer two-stage approach. Aggressive correction should be a last resort, not a default upsell.
How Pros Decide Which Stage Your Car Actually Needs
The decision isn’t a guess. It follows a repeatable inspection sequence that any competent detailer should walk you through before touching a polisher to your paint.
It starts with the test spot. A technician works a small section with a moderate pad and product combination, then inspects the result under a dedicated LED inspection light, not shop fluorescents or daylight, since swirls and haze hide easily under flat lighting, per Dr. Beasley’s guide. If the defects clear up, that’s the stage. If they don’t, the next level of cut gets tested on a fresh section.
After any test pass, an isopropyl alcohol wipe removes leftover oils from the polish and reveals the true, unfilled surface. This step matters because heat from machine polishing can temporarily swell and fill light scratches, a “thermal fix” that looks perfect right after buffing and reappears once the panel cools, a point Adam’s Polishes flags as a common mistake among less experienced polishers.
Paint hardness varies by manufacturer, which is why the same defect on a European luxury sedan and a Japanese economy car can call for different compounds entirely. A paint thickness gauge reading tells you how much room you have to work with before you commit to a stage.
Ask your detailer these questions before booking:
Will you run a test spot before quoting the full job?
What does your paint thickness gauge show on this panel?
How many microns do you expect to remove for this correction level?
How long will the job take, and does the estimate include a refinement pass?
Is there a warranty or guarantee on the finish?
Decision factor | What it tells you |
Defect depth (visible under inspection light) | Whether Stage 1, 2, or 3 cut level is needed |
Paint hardness (by make/model) | How aggressive the compound and pad choice should be |
PTG reading (microns available) | Whether the panel can safely support the stage requested |
Test spot result | Confirms the plan before the whole car gets committed |
Getting the Surface Ready Before Any Correction Begins
Skipping prep is the single fastest way to turn a Stage 1 job into a Stage 2 job. Bonded contamination and embedded grit act like sandpaper under a polishing pad, adding marring that then requires an extra pass to remove.
Wash thoroughly using a pH-neutral soap and the two-bucket method to avoid reintroducing grit into the paint.
Apply an iron remover to dissolve embedded brake dust and ferrous particles that a wash alone won’t lift.
Clay bar or use a synthetic clay mitt to pull remaining bonded contamination off the clear coat, following the step-by-step process for claybar prep.
Final wipe with a clean microfiber and prep spray to confirm the surface is genuinely smooth before machine work starts.
Mask trim, badges, and rubber seals to protect them from compound splatter and pad edges.
Clay bar work, if done aggressively or with a dirty towel, can itself introduce light marring, which is one more reason a careful pro sometimes plans for it during the correction estimate. A rushed 30 minute prep job on a heavily contaminated car almost guarantees the technician finds more defects mid-polish than the initial walk-around suggested, per the staged procedure Chemical Guys outlines.
Verifying the Finish and Protecting It Afterward
Once compounding and polishing are done, an isopropyl alcohol wipe strips away leftover polish oils and shows the actual, bare surface underneath, not the temporarily filled version the polish oils create. This is the same verification step used during test spots, and it’s non-negotiable before any protection product goes on, according to Chemical Guys’ procedure.
What goes on next depends on the goal:
Sealants offer a fast, affordable protective layer that lasts a few months, a reasonable choice if a coating isn’t in the budget yet.
Ceramic coatings bond to freshly corrected paint and provide multi-year protection with easier maintenance washing.
Maintenance cadence after either option depends on wash frequency, garage versus outdoor parking, and climate exposure, all of which affect how long the corrected finish stays defect free.
Correction only pays off if the surface gets sealed before contaminants and UV exposure start the damage cycle over again.
Why Staged Correction Is the Responsible Way to Polish a Car
We start least aggressive, test a spot, then step up only if the paint calls for it. That discipline is what separates a mobile detailer worth trusting from someone running one heavy compound on everything. Every stage removes clear coat you don’t get back, so Phenomenal Auto Care builds its process around inspection first, correction second.
— Phenomenal
Book a Staged Paint Correction With Phenomenal Auto Care
Phenomenal Auto Care runs paint correction the way this article describes it: test spot first, then the stage your paint actually needs, not the stage that pads out an invoice, supported by their use of modern tools like Mobile Detail AI to schedule and manage mobile detailing efficiently. Our mobile setup means this inspection-first process happens in your driveway across the local area.

At your appointment, we start with a walk-around under proper inspection lighting, run a test spot, and talk through paint thickness gauge readings before recommending Stage 1, 2, or 3. You’ll know the expected time, the expected correction result, and whether a ceramic coating makes sense as the next step. Visit our paint correction service page to see the full process, or book directly if you’re near Phoenix, Mesa, Chandler, or Scottsdale. Request your inspection today and find out which stage your paint actually needs.
Sources
For deeper technical grounding, EuroLuxe Detailing breaks down stage definitions, XPEL covers paint thickness safety limits, and Adam’s Polishes details section-pass technique and thermal management.
FAQ
What’s the Difference Between Stage 1 and Stage 2 Paint Correction?
Stage 2 adds a separate heavy-cutting pass before the refinement step, reaching 85 to 95% correction on moderate scratches and oxidation.
Is Stage 3 Paint Correction Worth It?
Stage 3 is worth it only for severe defects like deep etching or heavy factory orange-peel, since it removes more clear coat and carries a real risk of thinning the paint too much if not measured with a paint thickness gauge. For average swirls and light scratching, a two-stage correction is usually the safer, more sensible choice.
How Long Should a Stage 1 Paint Correction Take?
A one-step enhancement polish on a mid-size car typically takes 3 to 5 hours, including a test spot, section passes, and a final inspection under proper lighting.
What Is a Three-Stage Paint Correction?
A three-stage correction adds an extra heavy cut, often wet-sanding or an aggressive compound, before the standard cutting and refining passes used in a two-step job, per EuroLuxe Detailing’s breakdown. It’s reserved for heavy, deeply bonded defects that a standard correction can’t fully remove.
Recommended
Comments